Once you’ve been through the joy, challenge and delight of shooting a wedding, the real fun begins. The most demanding aspect of your workflow as a wedding photographer kicks in the minute you get back home, unpack your memory cards, and sit down to start your post processing. It’s the part of your life as a photographer that few clients ever see (or really understand), and yet, it’s the lion’s share of your workload.
With so many different elements to think about during your post-processing workflow, it can very quickly become an inefficient and time-consuming process – especially if you’re just getting started as a photographer.
To help you settle into the stride of an effective post-processing workflow, we’ve rounded up a simple 9 step guide. Every photographer’s flow and aesthetic is different, so whilst this isn’t a one-size-fits-all, it should at least kickstart your creative process in a tried and tested, methodical way.
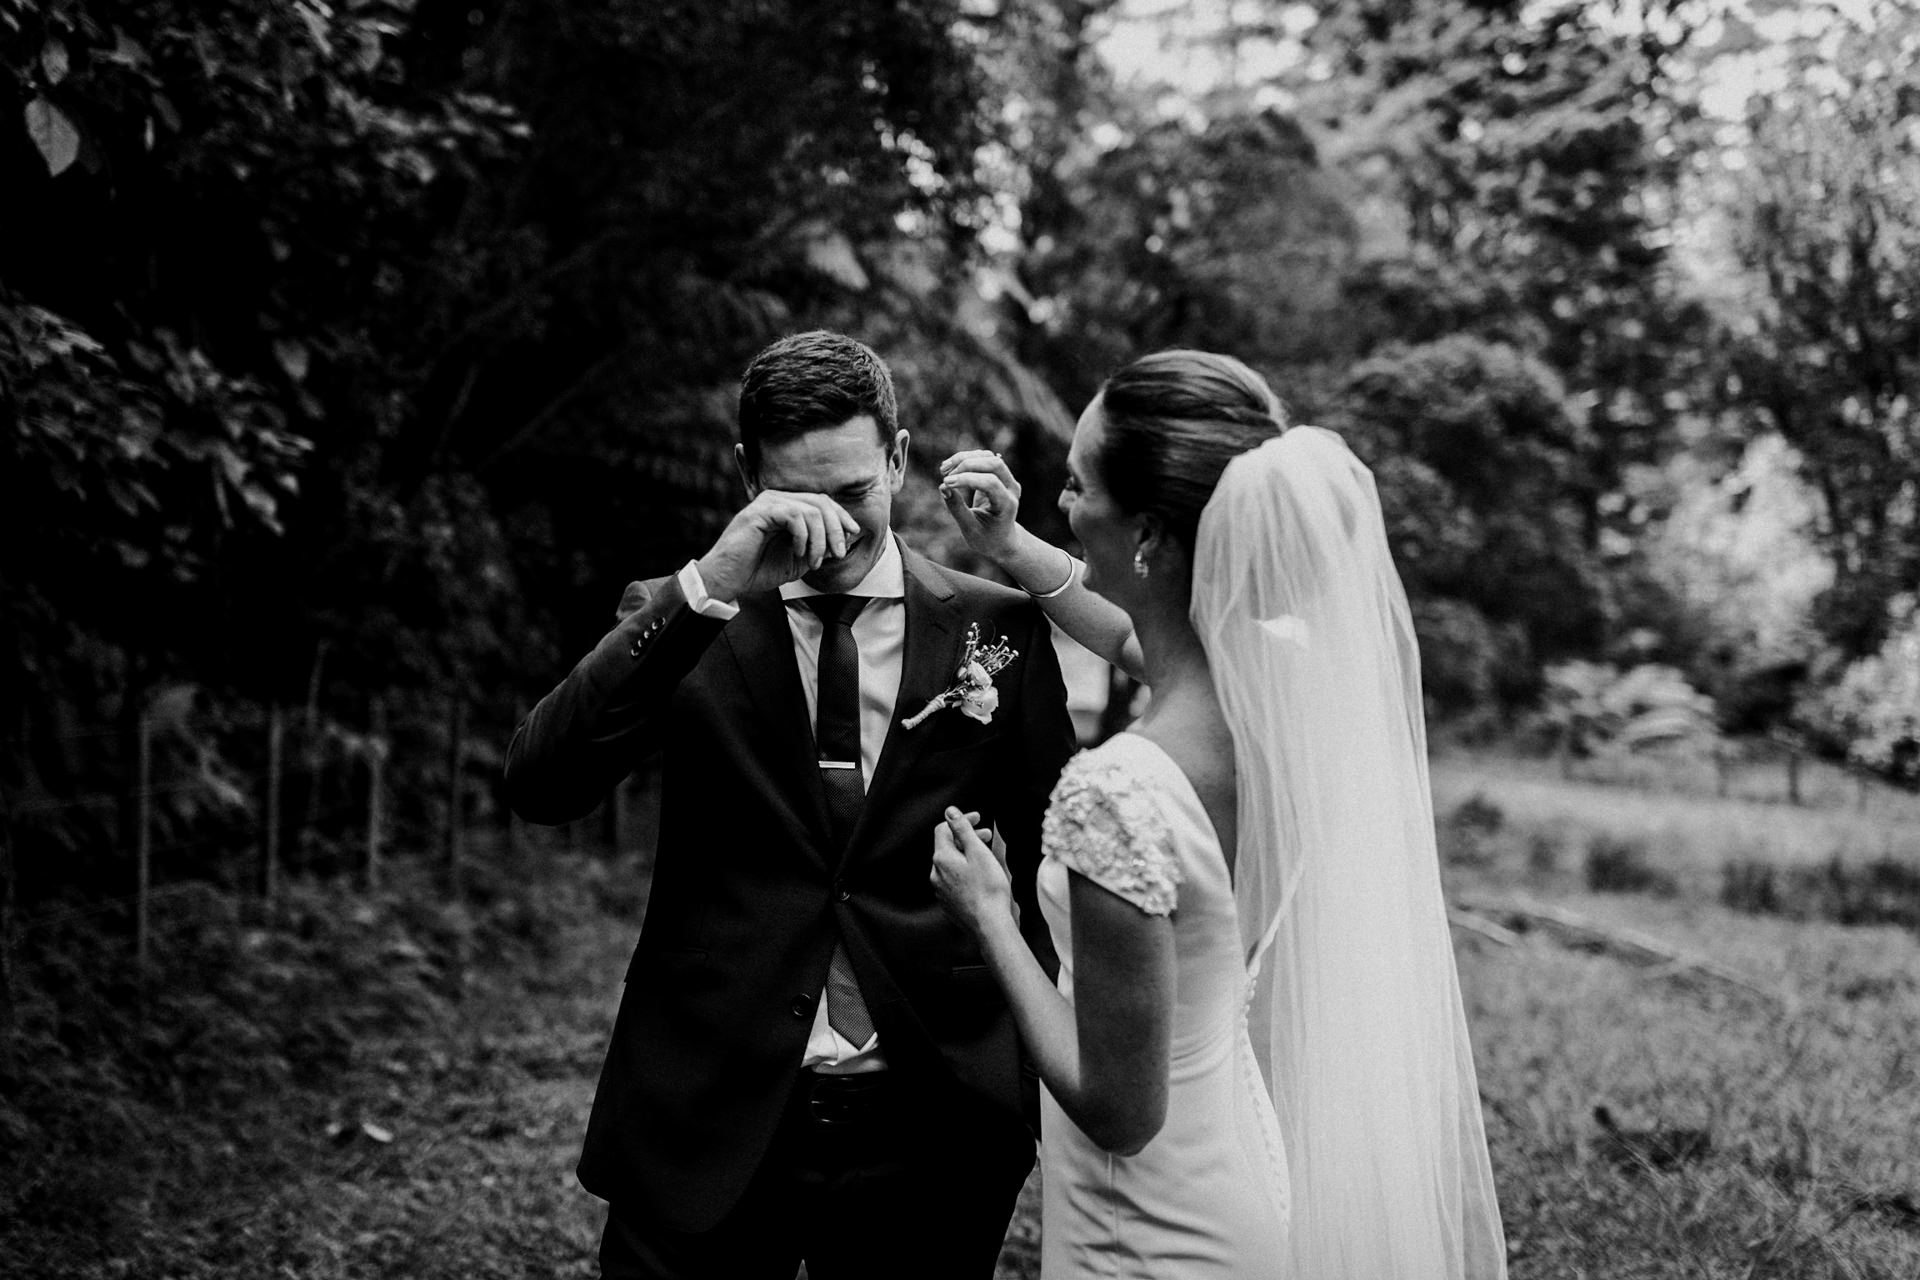
Photographer: Carey Nash
Step 1: Back up your RAWs
The very first step in your post-processing workflow should be to safeguard your images to within an inch of their lives! You should select at least 3 different places, ideally two hard drives and one cloud service. These RAW files are literally your raw material. Lose this and you’ve lost not only your income, but the only documents your couple has of their day. It’s therefore important that you back up your images as soon as possible (ideally as soon as you get home) to avoid any disasters.
Your RAW files will be huge, so depending on your internet connection it could take some time to back everything up. The great news is that once you start your backups you can leave them to upload/ transfer overnight whilst you catch up on some rest.
Step 2: Rate your images
This step could well be the hardest on the whole list. It’s time to – sharp intake of breath – kill your darlings.
Use a tool like Photo Mechanic to catalogue and rate your images as quickly as possible. Photo Mechanic allows you to do a simple yay/nay to all of your images so that you can decide which ones will be in your final edit. Don’t keep anything you would not give your couple – this is a time to be ruthless with your work. Only your finest shots with the best potential should make the cut.
Step 3: Import your RAWs
Now the real fun can begin: you can import your work into Lightroom to begin editing.
Start by creating a new Lightroom catalogue for the client, and then import all the best rated RAW files into the client folder. Once you’ve imported everything, sort the images by capture time (make sure that your camera time is accurate first!) so that the photos are displayed in chronological order for you to begin editing.
Step 4: Select 10-20 of your best images as a preview
Now that you images are correctly organized and imported in Lightroom, start by picking 10-20 images that are your ‘best of the best’ to edit. These will be your preview selection for the client.
Wait… you need to create a preview for the client?!
Yes! Your couple are likely to be bursting at the seams with excitement in anticipation of their wedding images. By surprising them with a little preview, you can be sure to not only delight them, but that they’ll share your amazing pictures with friends and family, rather than the phone shots taken by guests during the day.
Step 5: Make your images shine with your chosen preset
The time is nigh so begin doing your basic image adjustments, including cropping, straightening, exposure, contrast etc. What you do here is entirely dependent on your aesthetic style, and it’s here that your creativity will begin to shine.
It’s also this part in your process that the decision to shoot in RAW really comes into its own, as you’ll have so much more scope to adjust your images exactly as you please.
After you’ve done your basic edits, you can add the finishing flourishes with a Preset Pack of your choice (if you want to). Again, the type of preset you use will be totally dependent on your aesthetic style, but this step really helps to give your final images an stamp of magic.
Best of all, in Lightroom you can do batch edits – so you can apply your preset to hundreds of images at the same time, saving you countless hours of editing time.
Step 6: Export your images in full resolution
Now that you’d backed-up your images, picked your favorites, put your create touch on them – you’re on the final stretch! Now comes the time to export your final versions to the client folder you set up.
Create a new sub-folder (something like ‘Edited images’), and then selected all of your edited files in Lightroom. Set the file settings and file names (you can set up custom preferences in the Lightroom settings), and then hit export. Make sure you export your images in full resolution – don’t worry about the file size at this stage. We’ll deal with that in the next step.
Step 7: Optimize your file sizes
Ok so your images are exported, but the file sizes are huge! So now comes the task of optimizing your file sizes (without impacting on image quality).
Use a took like Jpeg Mini. Using their patented technology, JPEGmini allows you to reduce your image file size up up to 80%, but the resolution and quality will stay the same. That means no more dragging around numerous external drives, or long upload/download times. It even plugs in to Lightroom, so you can export directly to JPEGmini after editing, allowing you to enjoy a more seamless workflow.
Step 8: Create an online gallery
Remember the days of delivering edited photos to couples on USB drives? It almost seems to crazy to think of now, huh? Thankfully, nowadays there are lots of digital tools to deliver your beautiful photography to clients in an online gallery.
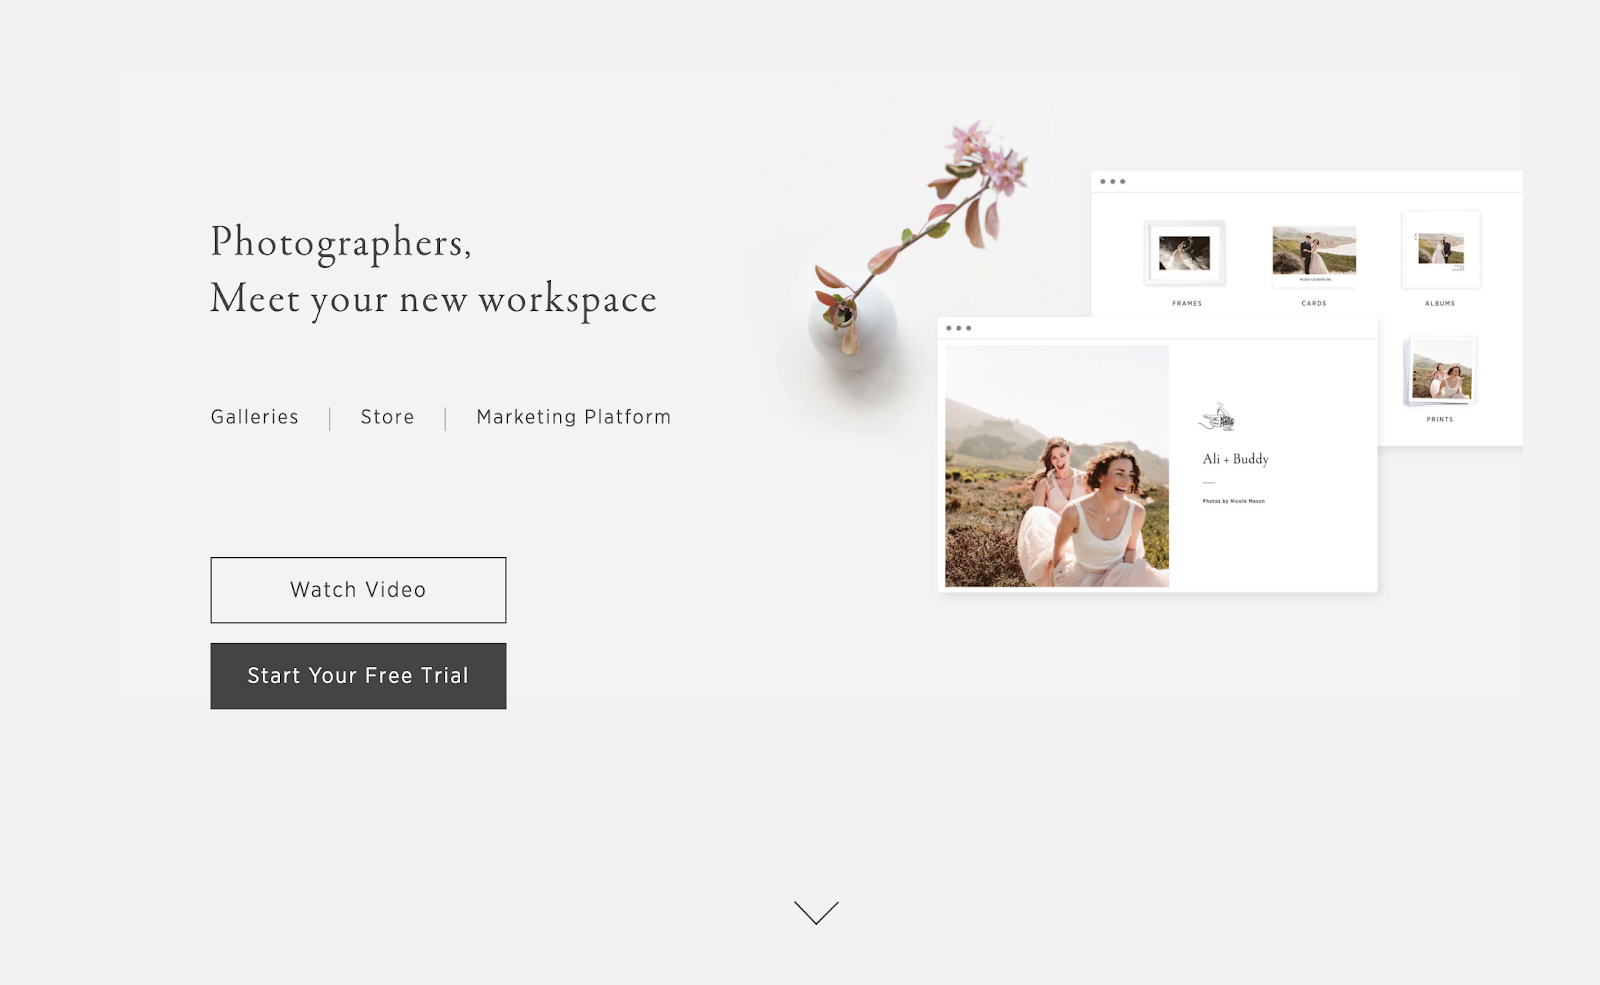
One of our personal favourites is Pic-Time. It allows you to upload your images to a branded gallery, where your clients can then select – and even purchase – their favourites from within the gallery itself. It handles all payments if you want to sell your prints online, and photos can also be downloaded directly from the platform too.
Best of all, Pic-Time is designed for the social generation. Social sharing is built into the platform, so – with the right permissions – your clients can share your branded work to their social networks, giving you priceless exposure!
PLUS if you love the 30 day trial and sign up via DBMH you get additional:
- two FREE months on top your monthly subscription or
- three FREE months for your yearly subscription
Step 9: Deliver your work to your clients
Finally! After all your hard work it’s time to deliver your works of magic to your client. Make sure to password protect the gallery that you share with your clients to keep the images for their eyes only.
If your clients may ask for additional post-processing after this point, it will usually fall outside of their contract, so be sure to clarify any additional fees after this stage.
Initially, you might find that this process takes you 6-8 weeks (as you juggle all your projects and clients). But eventually you’ll find that your workflow becomes shorter and shorter, as you develop your own tips and techniques to smooth out your process. But for now, take your time, and enjoy!
Connection is what it’s all about. Feel free to reach out to us with any comments or questions you might have, even if it’s only to say hello. If it wasn’t for our beautiful community, this place just wouldn’t feel the same.


 -->
-->




[…] In short: NO. As a wedding photographer, you have a professional responsibility to keep an archive of all your final work. All photographers, no matter if you’re a pro or a hobbyist, should establish a clear post-processing workflow that keeps your images safe from loss. […]
[…] your website, or marketing your business… and when that’s all over, you’ve inevitably got a whole load of editing and retouching to do. We’re here to tell you: it’s ok to outsource what you don’t […]