
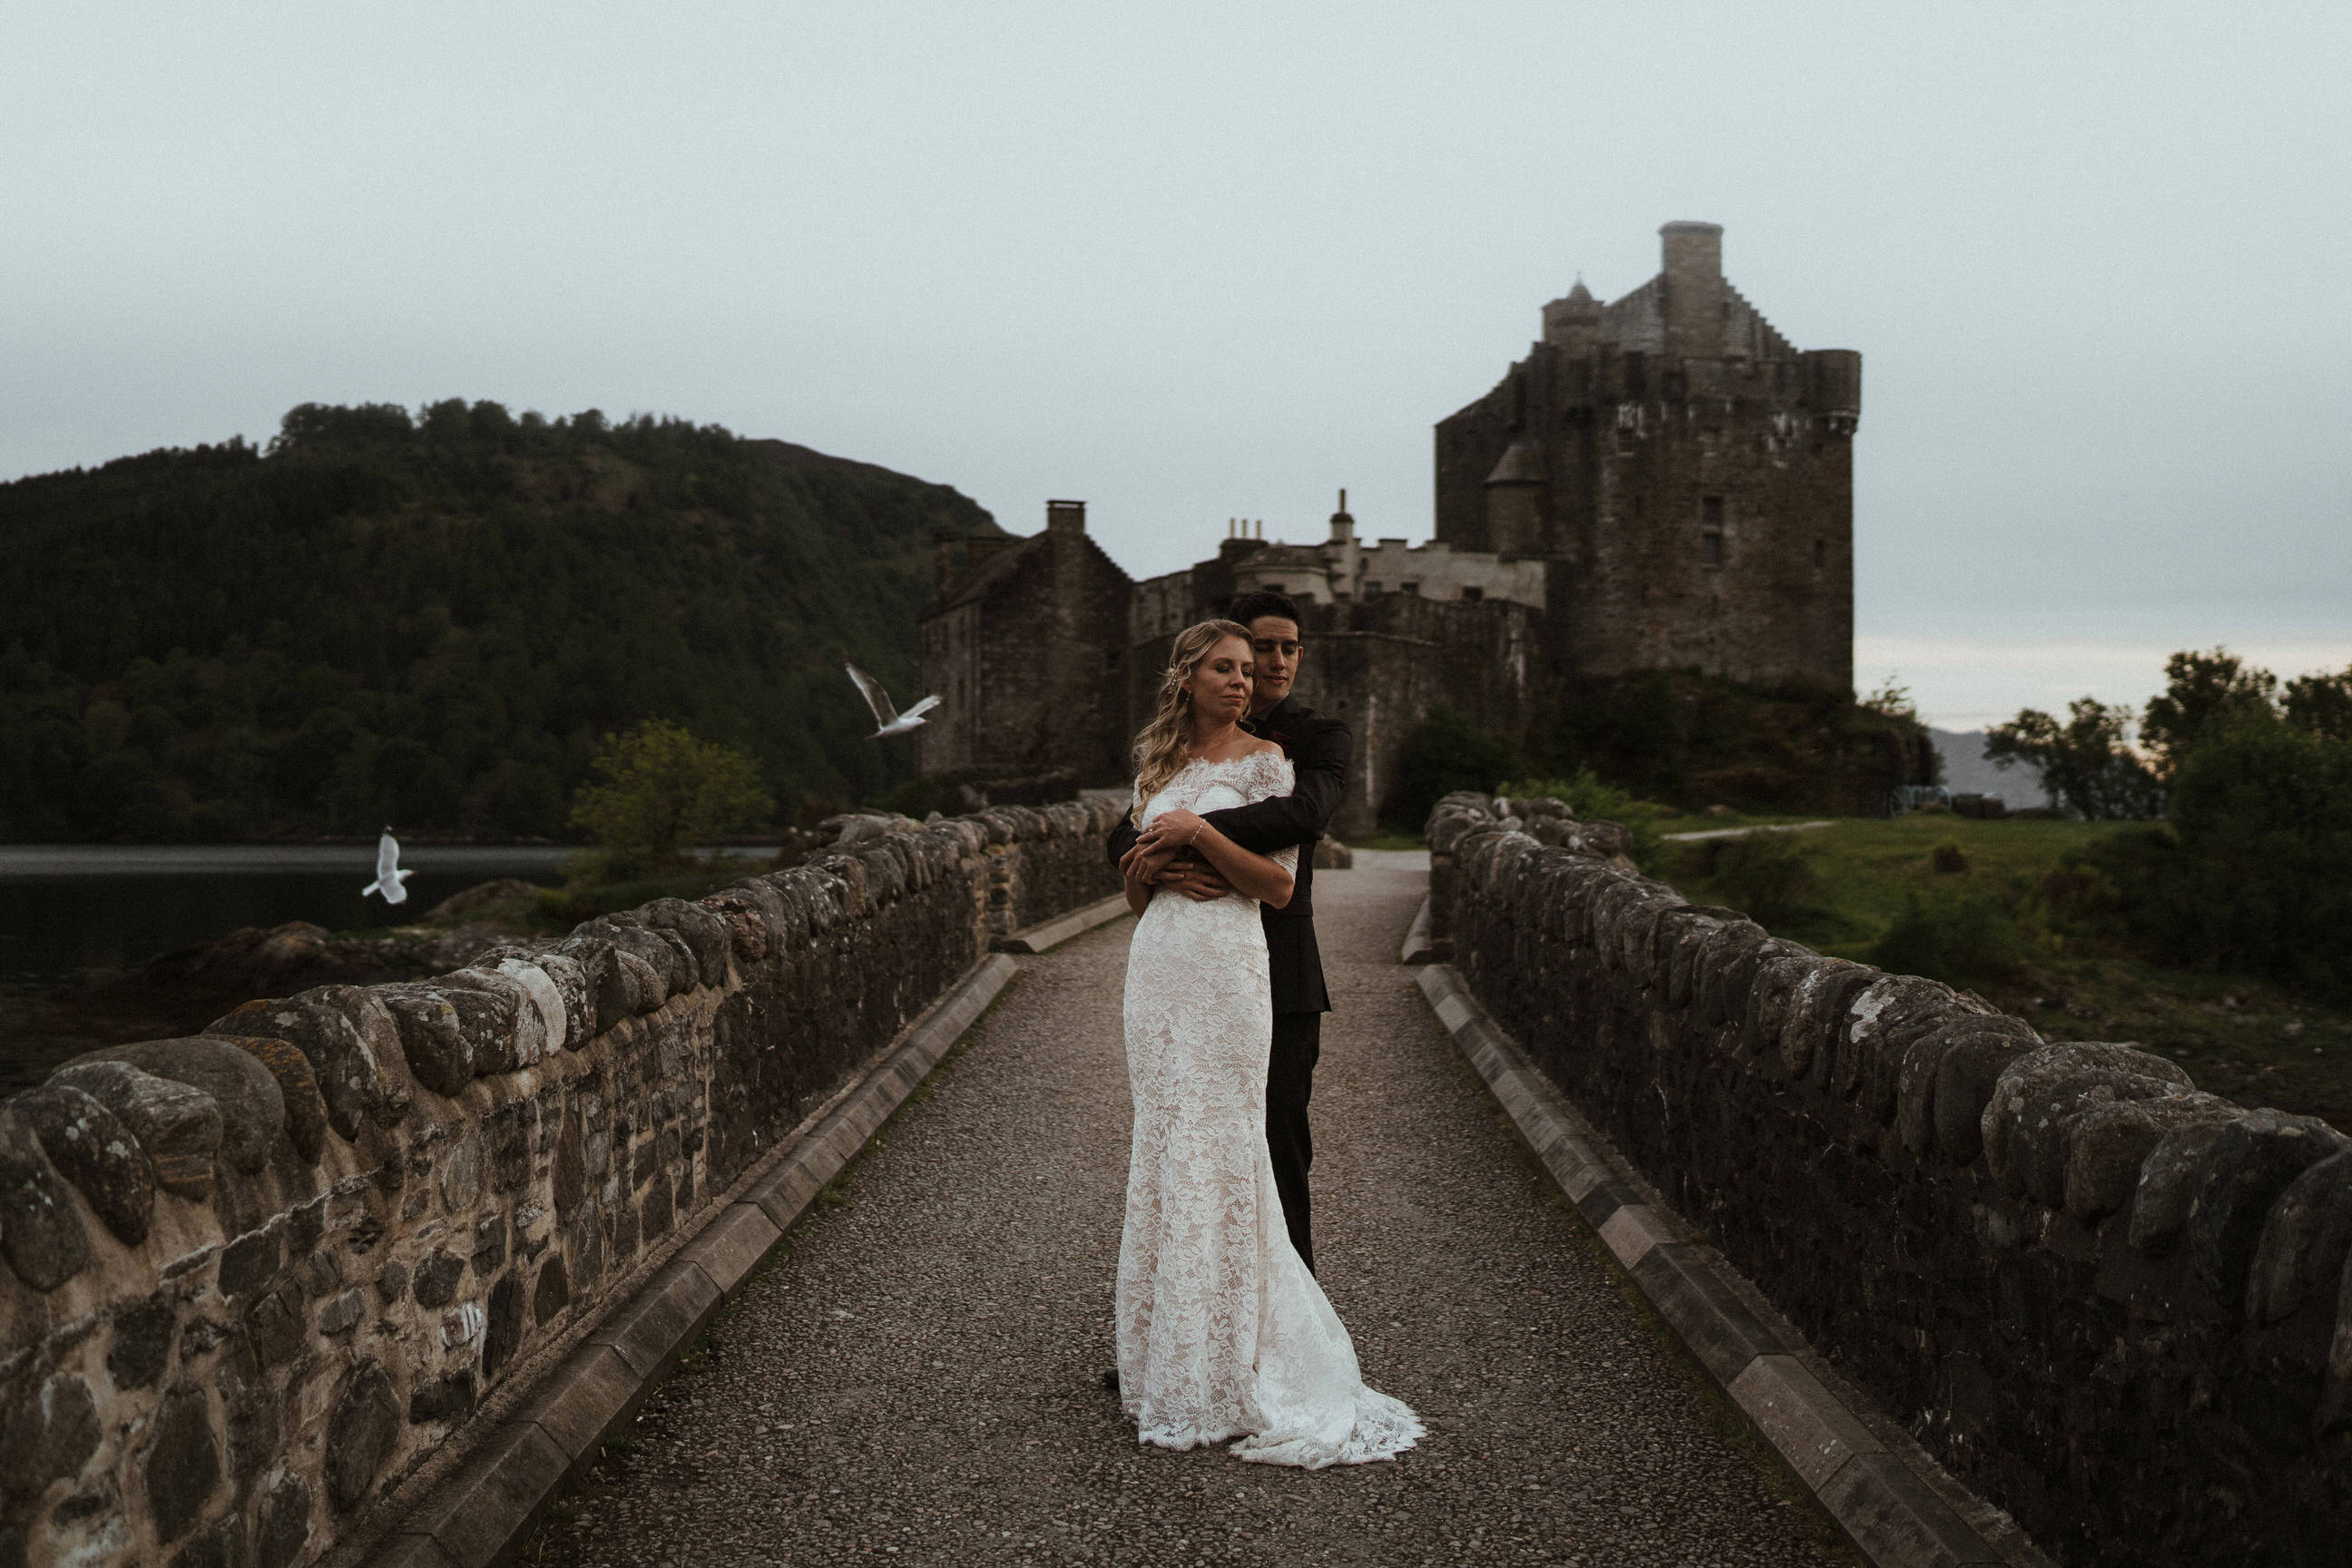
Photographer: Ramses Garcia
It goes without saying that life as a wedding photographer is amazing. You get to do work that you love, go to beautiful, exotic places, and help make couples’ dreams a reality. Being part of the best day of someone’s life is a genuine privilege.
But loving your job doesn’t mean that there aren’t stressful moments. Especially when wedding season is in full bloom. Every photographer knows those moments when you have been editing in front of a screen for so long, it feels like your eyes are crossing.
No matter what tricks you have up your sleeve, organizing and editing thousands of wedding photos can often be one of the trickiest parts of the job.
LIGHTROOM IS A WEDDING PHOTOGRAPHER’S BEST FRIEND – ESPECIALLY IF THEY ARE AWARE OF THE FOLLOWING EDITING TRICKS.
Lightroom makes the process easier on us. But even this kick-ass tool requires time and effort to work with. And time for a busy professional like you, is precious.
Thankfully, we’re here to help! There are a few quick and easy hacks that will hit fast forward on your editing process.
Tricks of the trade are always worth learning. Even if it’s just saving a few minutes or even seconds here or there – those add up.
Read on and learn how to cut corners in Lightroom (without cutting quality) using these 5 editing tricks.
Lightroom Editing Trick #1: Presets
Obviously, you’ve heard of presets.
They are an amazing way to save time and nail your own personal style in your wedding photography. Rather than having to edit each individual image from scratch, you can apply pre-made presets to a whole bunch of photos with the click of your mouse.
You can buy ready-made presets (we actually have a few of our own) Or, you can simply create your own.
Here’s how to do it:
Stumbled across the perfect settings that look fantastic on a photo? Maybe those work great with other images, too!
Go to the toolbar and click Develop > New Preset. This will save all your current settings into a group of changes that are applicable with one click.
A PRESET ALLOWS YOU TO CREATE A COHESIVE STYLE FOR A SERIES OF IMAGES – ALL AT THE CLICK OF A BUTTON.
Now you can choose a bunch of images that are indicative of your shooting style, lighting or the situations you aim to use the preset for. Apply the preset and keep adjusting (don’t forget to save the changes made!) until your preset almost always looks great with minor adjustments.
Typically, you will need to edit and tweak your preset based on quite a few images to get to a place where it works really well.
Ta-dah! One new preset, hot from the oven.
If you’re more of a visual learner, here’s a great video on how to create lightroom presets to get you started.
Once you’ve got your own presets ready to go, you can apply them to as many images as you want. You can then make small tweaks to get each photo just right, but your bespoke preset will save you a bunch of time in the process.
Lightroom Editing Trick #2: Hit The ‘Previous’ Button
Whether you are using presets or not, the ‘Previous’ button can be a godsend.
Hitting it applies the exact same edits to the image you are currently working on as you used on the previous image. If you aren’t using a preset, it acts like a simple, one-click version. If you are using a preset, it adds on the extra tweaks and retouches that you might have added.
USING THE ‘PREVIOUS’ BUTTON MAY ONLY SAVE YOU A SECOND OR TWO – BUT THOSE ADD UP OVER THE COURSE OF EDITING A WHOLE WEDDING.
From color adjustments, spot removal, cropping etc – the ‘Previous’ button gives you that little extra kick of speed and convenience that can make all the difference in post-production.
For a step-by-step run through of how to use the Previous tool, check out this great guide from Peachpit.
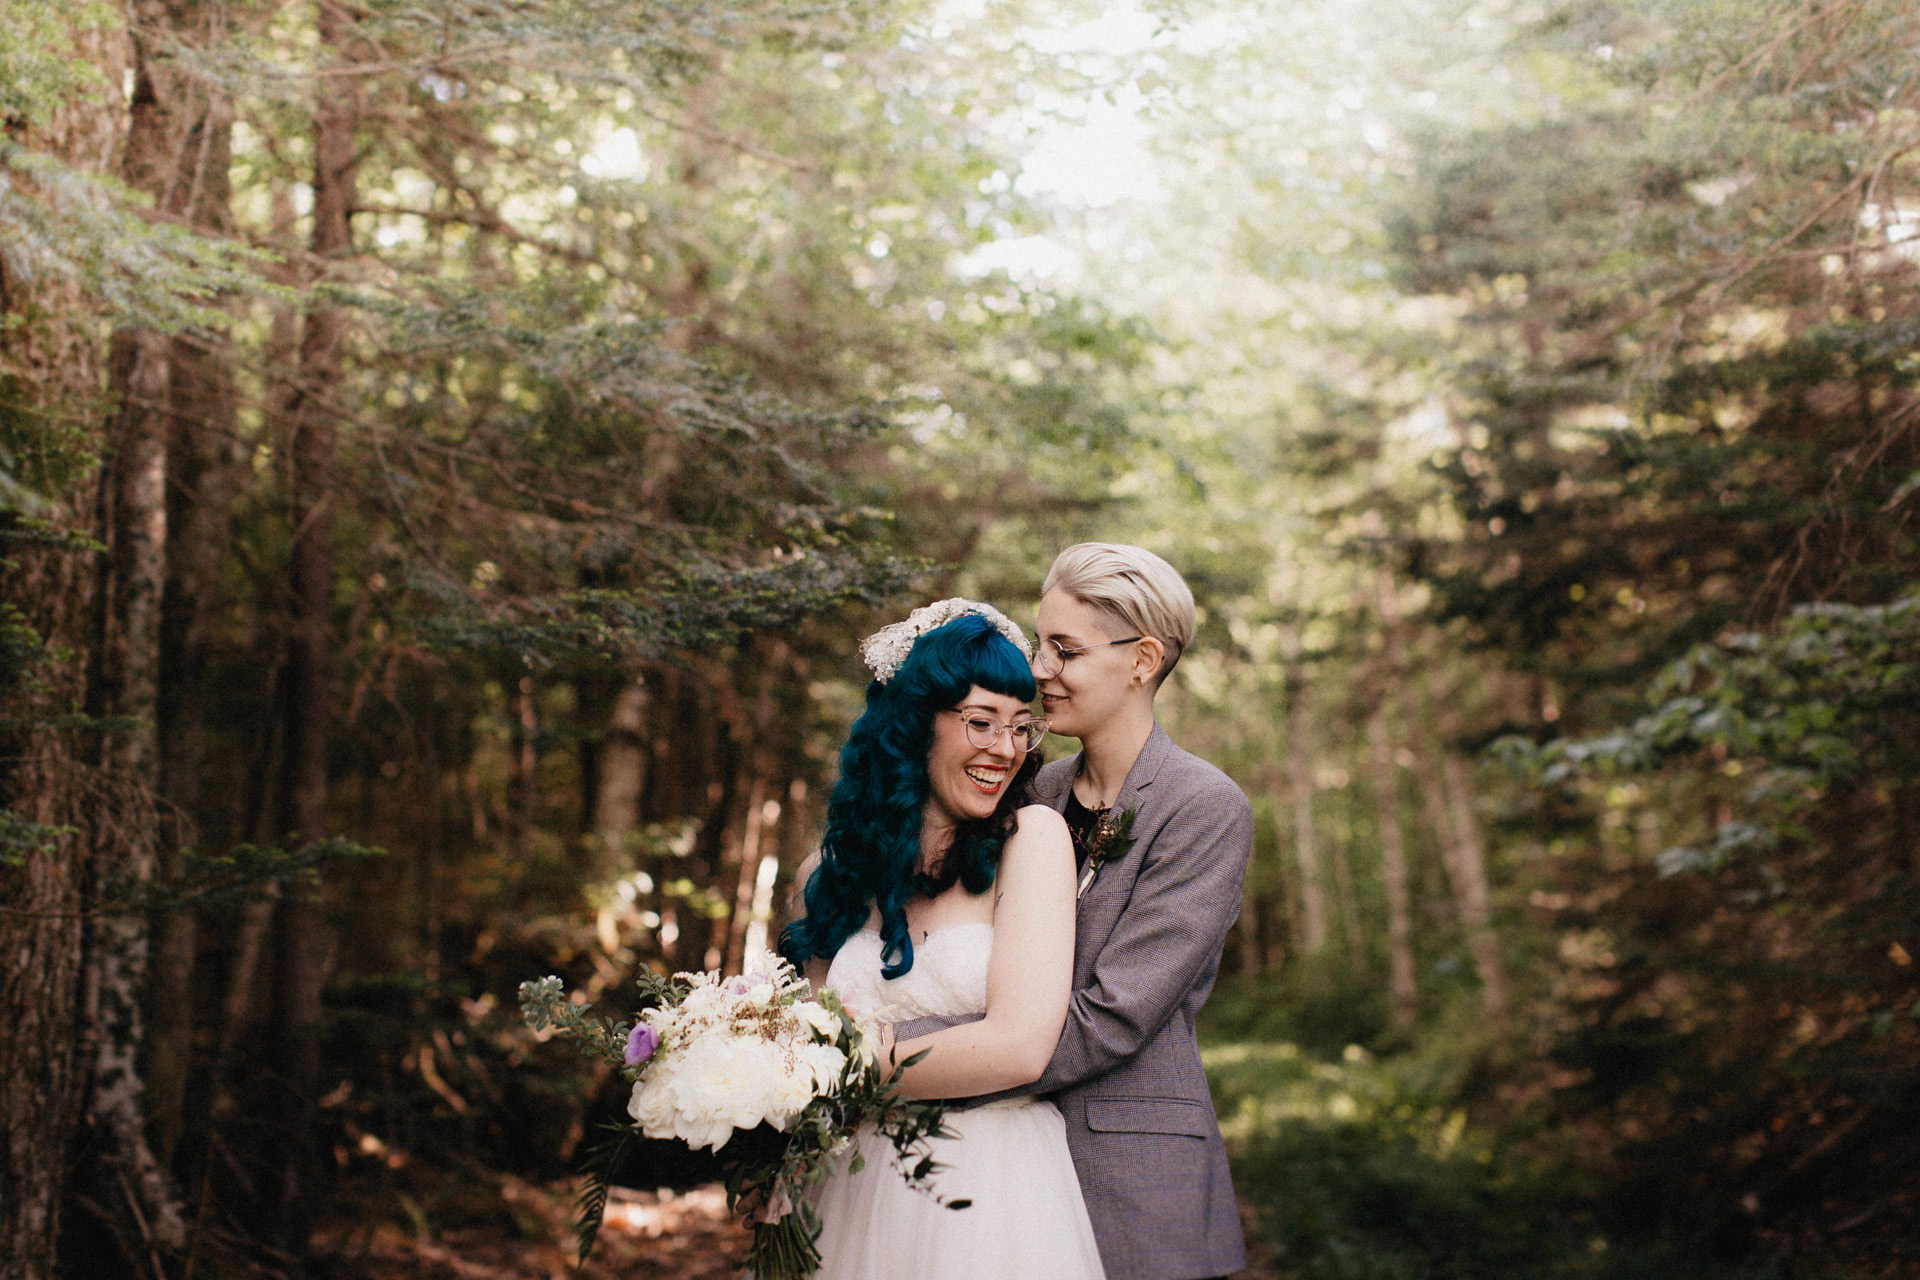
Photographer: Ash Powell
Lightroom Editing Trick #3: Star Power
Organization is one of the most important aspects of post-production, and a rock-solid system can save you so much time in the long term.
It’s one of the things we so often overlook initially because it is slightly annoying… but once you’ve started editing a ton of weddings without a system in place, it is sooo much harder to go back and fix it!
And while this hack may first appear to be some sort of way to sneak in a Mario Kart reference, we assure you it’s honestly a great way to organize your photos.
USING STARS & NUMBERS TO ORGANISE THE EDITING PROCESS MAKES IT EASIER TO NAVIGATE LIGHTROOM LATER ON.
Using stars as you go about editing and culling can save you huge amounts of time further along your workflow.
Organizing by type of image (preparation, ceremony, bride and groom, family etc) is a great way to make sense of everything at the end, and you can just assign a number of stars for each category and mark them as you go.
The best bit here is, you don’t even have to use your mouse! Keyboard shortcuts (1-5 for number of stars, 6-9 to assign a colour, P to flag, U to unflag) make this organization hack even easier. Cue music!
Lightroom Editing Trick #4: Apply During Import
Did you know you can apply changes to your images before you’ve even imported them?
Applying your presets or setting a bunch of keywords relevant for all images in the import can save loads of time. It lets you focus on putting the finishing touches to each image right from the get-go.
Adobe have compiled a comprehensive guide for all their Lightroom import settings, including how to ‘apply during import’. Just check out this article to get started.
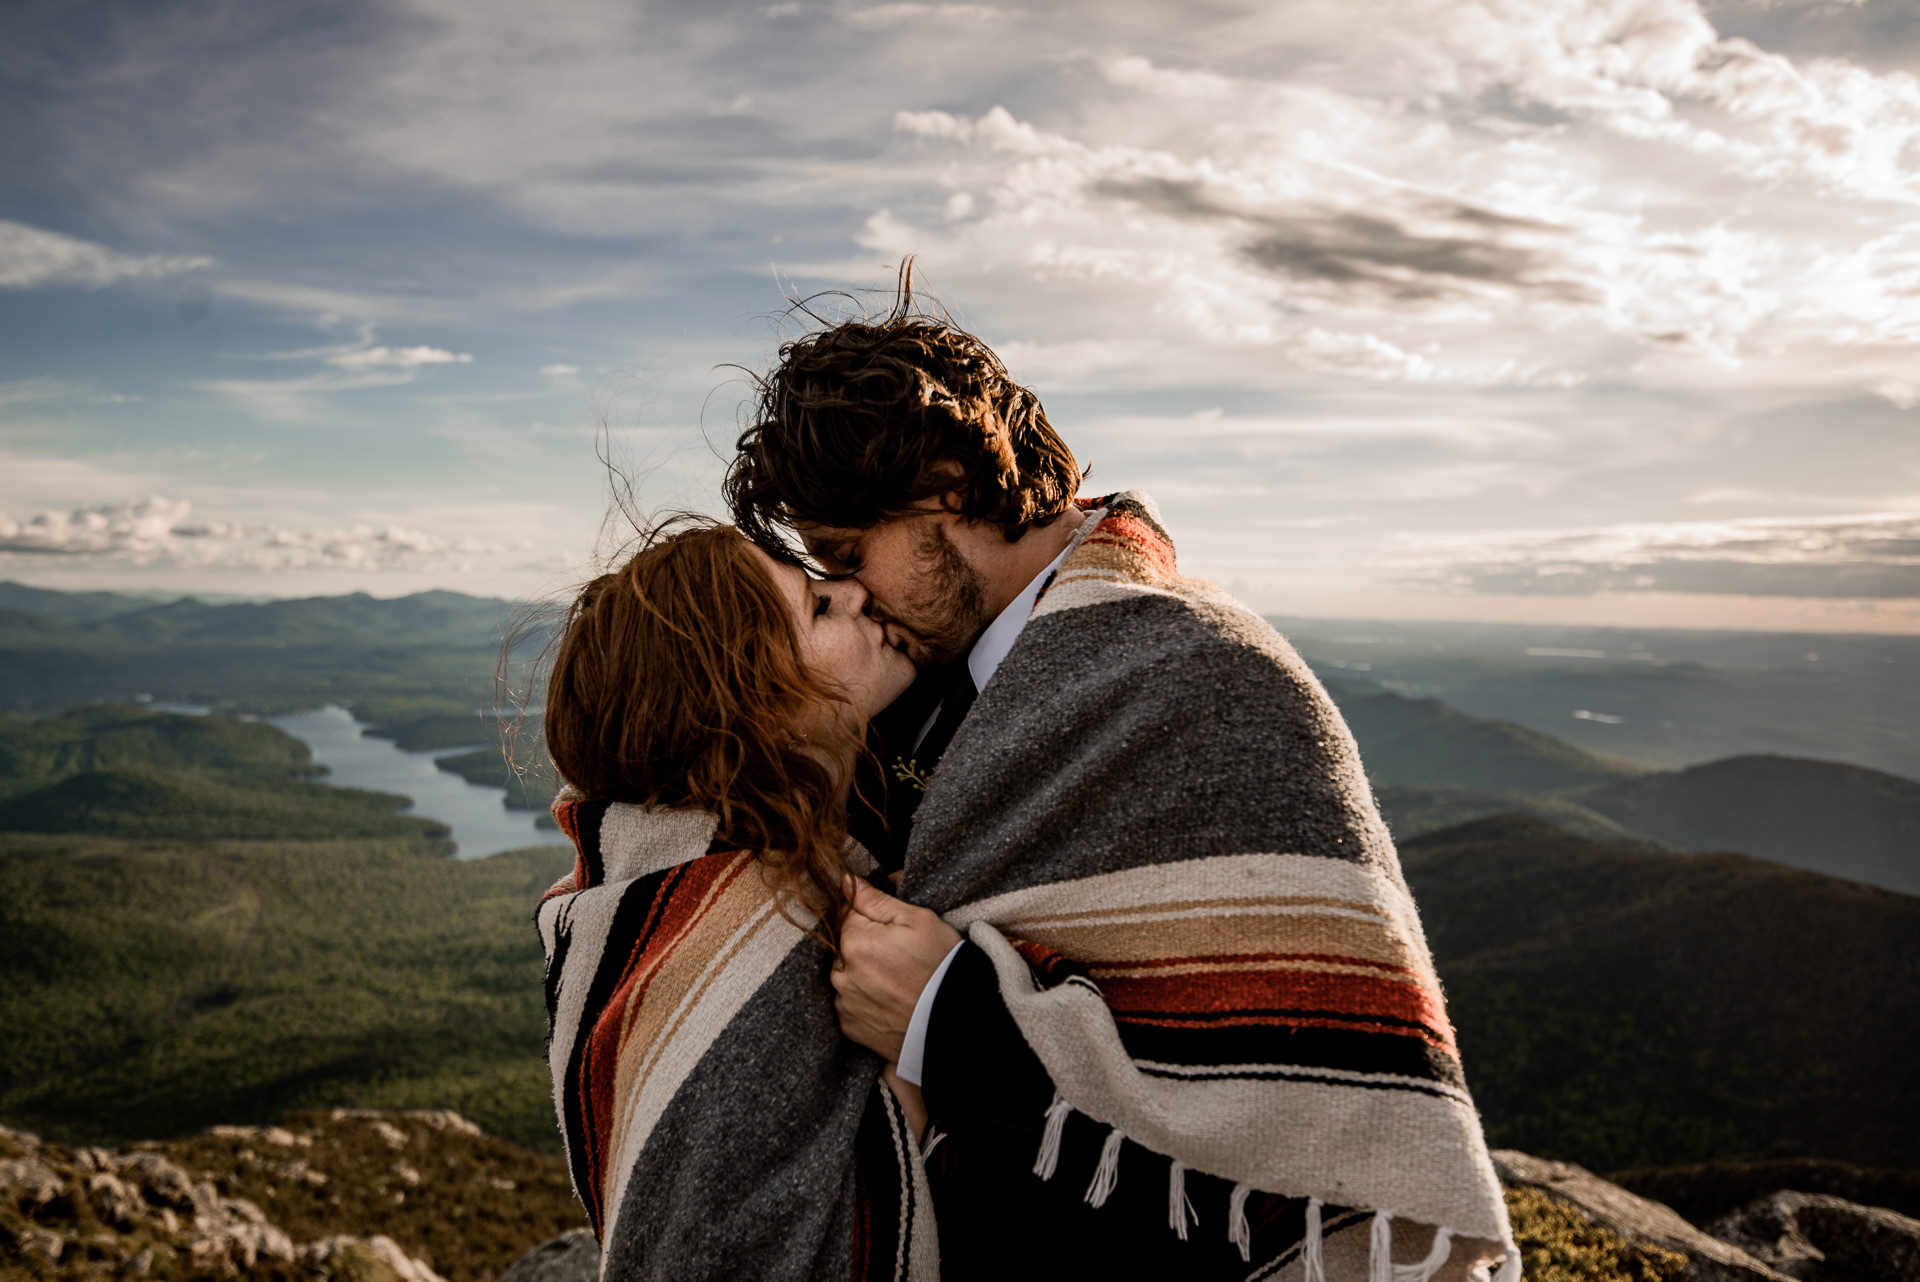
Photographer: Farrah Julin
Lightroom Editing Trick #5: Put A Name on It
Ok, hard truth time.
So many Lightroom hacks are just, in reality, nudges to stay on top of your organization. Getting your organizing done in advance can save you so much time later on. It is well worth doing.
Same goes for exporting your galleries. Set aside a few moments to rename the images, rather than leaving them with the automatic file name created in the camera. It is a really sensible plan.
It can help you with your SEO (search engine bots like relevant names!), help with your organization, and it will look nicer and more professional for your clients. You can name your galleries after the couple, the event, the date, your business, or even sub-divide them further into ‘ceremony’, ‘speeches’ etc.
STAYING ORGANISED IN LIGHTROOM FROM THE GET-GO WILL BE A MAJOR TIME SAVER IN THE LONG RUN.
If you’ve already grouped your images into categories, organizing them into galleries with custom names will be even easier.
Wedding photography is the best job in the world, but it can be tough sometimes, too. Every little extra bit of help is great.
Using these hacks can really take the sting out of your post-production process and add a bit of zip to your editing workflow. You’ll have more time to tend to other elements of your business. Your turnaround times will be that much faster (meaning more satisfied customers!). Or you can just sit back and relax with a bit of deserved ‘you’ time!
If you are looking for a few more hints and tricks to supercharge your wedding photography business, check out this piece on stepping up your email marketing game. Good luck!
Connection is what it’s all about. Feel free to reach out to us with any comments or questions you might have, even if it’s only to say hello. If it wasn’t for our beautiful community, this place just wouldn’t feel the same.


0 Comments