Lighting: we can all agree that it’s arguably the most important thing to get right when learning how to take good pictures. Here are our 7 Rules on How to Take Good Pictures in Any Light.
We all know how dreamy the golden hour is to work with; the warm hue that comes when the sun is just rising, or just disappearing below the horizon, sprinkles a big dose of magic on your shoot.
… butttttt you won’t always have the opportunity to shoot during these times.
In fact, as a wedding photographer, you’re more likely to be photographing ceremony in midday light, or of a newlywed couple taking their first dance under the stars. And that’s not necessarily a bad thing. There’s much to be gained from these out-of-golden-hour conditions, if you know how.
So, let’s shed some light on that – and yes, that pun was totally intended!
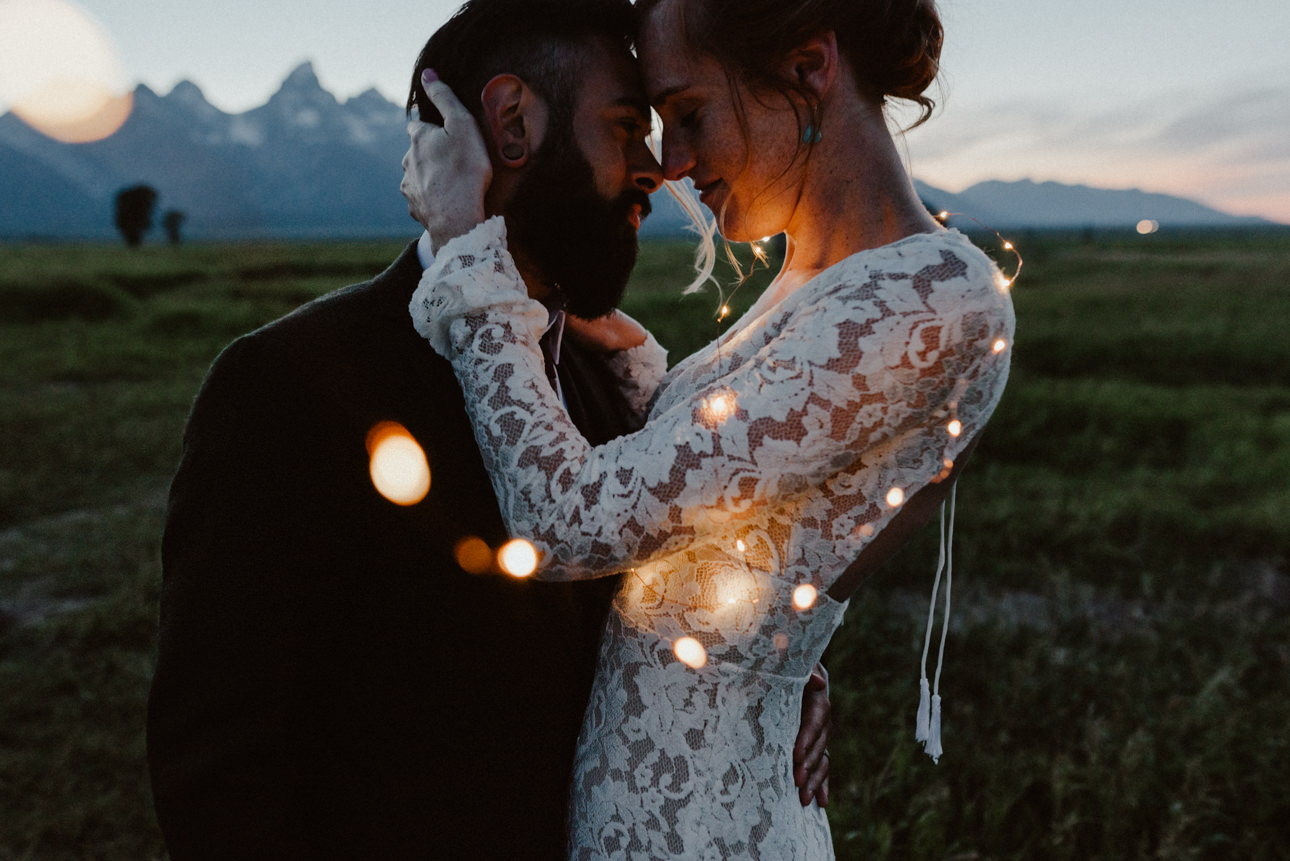
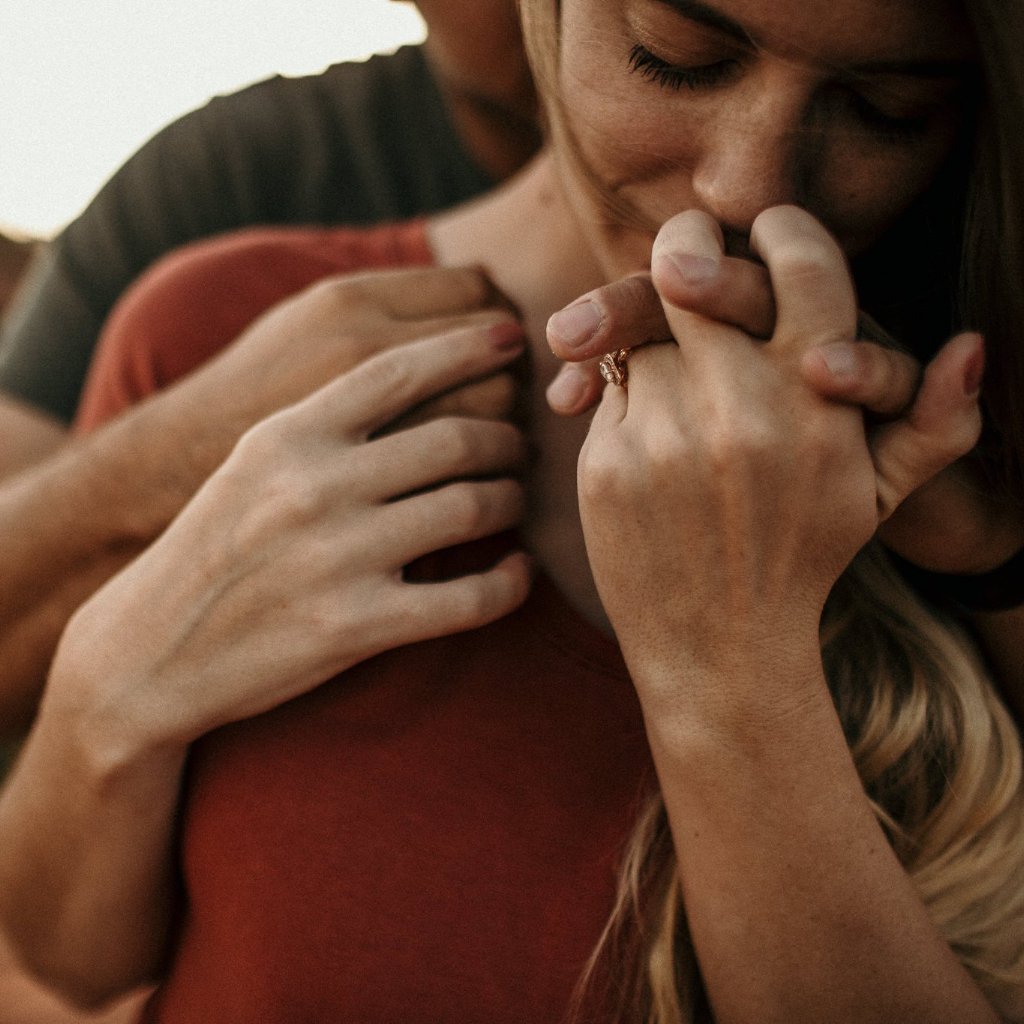
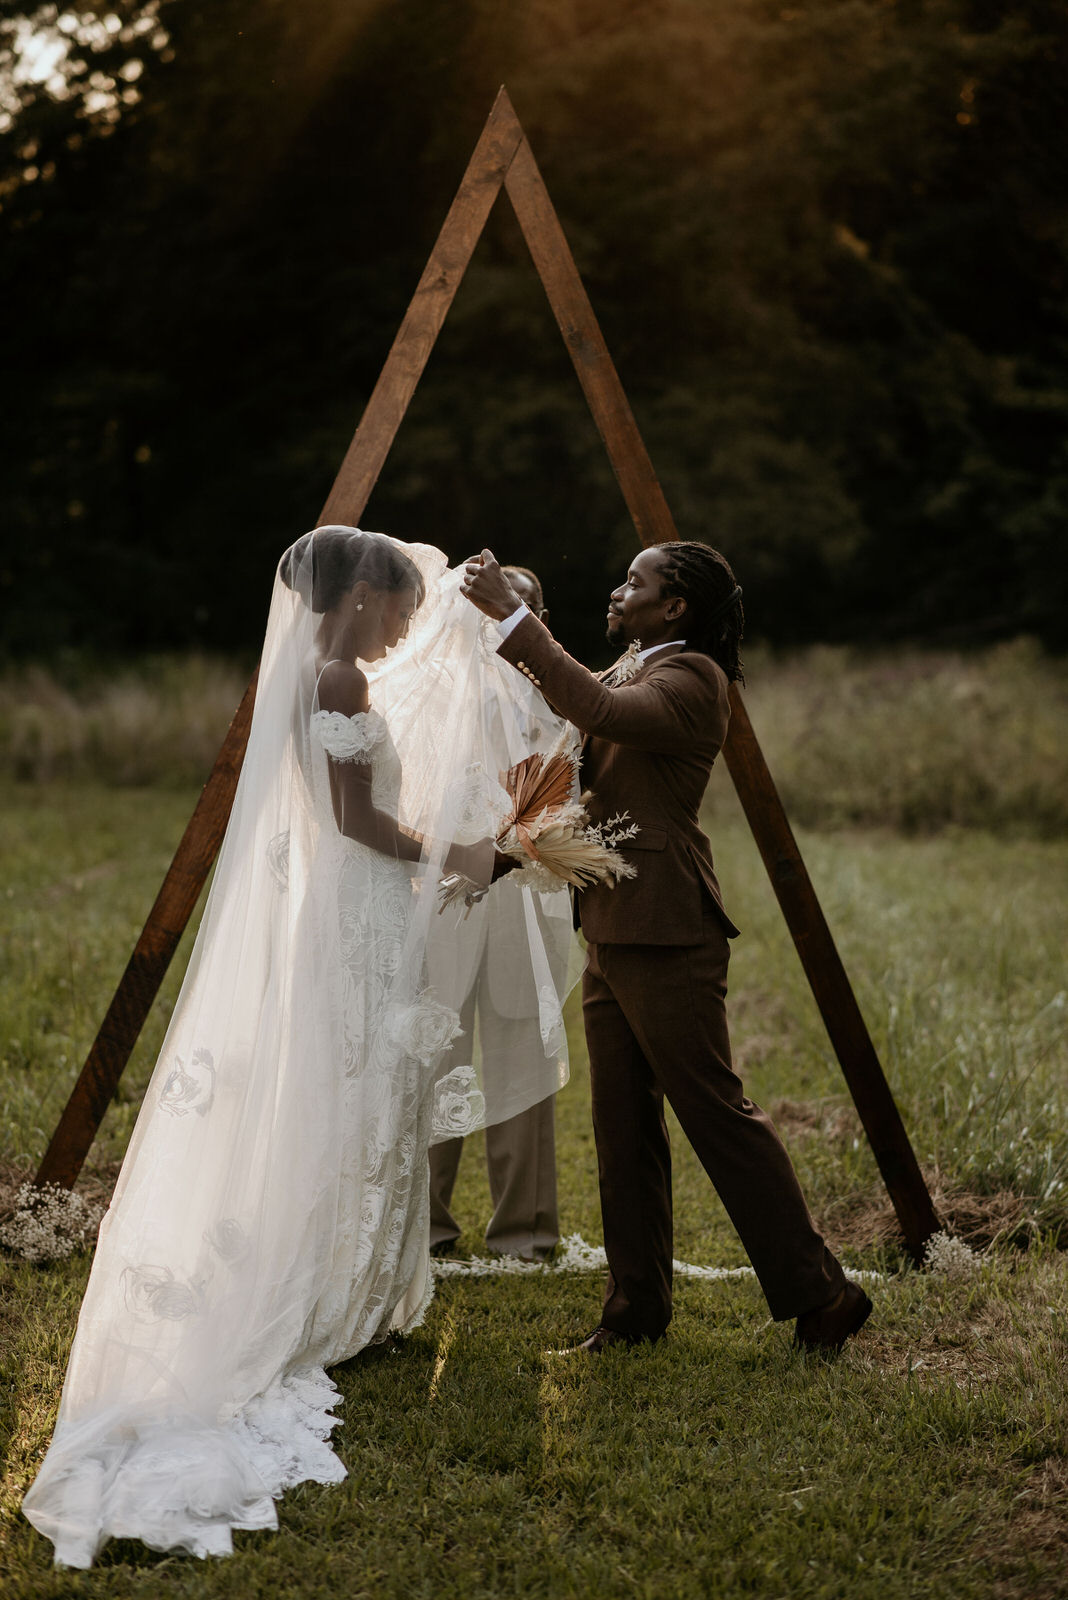
Photographer: Chelsea Abril
Rule #1 Plan Around the Light with Your Couple
Okay, so you’re quite unlikely to have a couple who are willing to arrange their whole day around the light. Nonetheless, it’s super important illuminate (these puns keep on comin’!) your couple on how lighting works. You can then figure out how and where they want to work photography into their day.
Show your couple what kind of shots they can expect from different times of day. Let them decide how to plan around the light, with your guidance to help them.
Sure, your couple probably can’t move the time of their ceremony. But they can think of how they might optimize the ceremony for beautiful shots if it’s going to be outdoors under the midday sun.
For example, they may be able to move the ceremony to a more shaded area. Or work in some decorations that will help to cast light in different ways. They may even opt to take their main shots during the evening hours.
Whichever way you kick it, work with your couple to design a day where lighting works for all of you.
Rule #2 Shoot in Manual Mode
If you’re in the habit of shooting on auto, it’s time to change your approach.
Whilst camera pre-sets are super useful for snapping on-the-go, when you’re documenting a loved-up couple’s happy day, you can’t leave anything to chance. Hit it in manual mode, always.
Dialing up and down your ISO and paying close attention to aperture settings will make the most of the exposure you’ve got; whether you’re shooting in bright light, or candle-lit darkness, or at a winter wedding.
Top tip: When taking group shots, remember to keep your aperture closed to have all those family members in focus.
Rule #3 Train Yourself to Work in Every Kind of Light
Oftentimes we see photographers investing in fancy gear to help them take good photos in any light.
From reflectors, to diffusers, to light meters – it can quickly get to be total overkill.
And we hate to break it to y’all, but you really don’t need all that stuff to deal with different light. It all comes down to experience.
Train your eye for different light situations to see how (and from where) you should capture a particular shot, and to learn how to make the most from (limited) light sources.
And even then, sometimes you have no choice but to roll with it!
If there’s one piece of gear we would recommend it’s this: get yourself a pro camera that can handle high ISO and is generally fantastic in low light situations. This will be key to handling those super low light indoor scenarios.
Remember: the smaller the light source, like midday sun on clear day, the harsher the light coming from it. That’s why an overcast day is actually more photo-friendly than a bright sunny sky; the clouds help broaden the light.
If your newlyweds are blessed with a cloudless sky on their big day, then you’ll need to use a reflector and/or diffuser to broaden and soften the light for your photographs. Just make sure to look for shade and areas with neutral colors (sand, beige, light brown), and avoid green areas (such as grass, trees) – as those will reflect green shadows on the skin.
Rule #4 Avoid the Midday Sun by Heading Inside
Of course, you can always head indoors for midday photographs. And if the ceremony or reception is being held in a period or decorative venue space, you’ll have no shortage of dramatic backdrops to make the most of.
Doorways and windows are ones to look out for. The way the light beams through will softly illuminate the newlyweds, creating an ethereal finish that’s sooo dreamy.
Just make sure to talk to the couple upfront and explain why it would make sense to capture certain moments in a specific area. For example, you may want to take some indoor shoot by a particular window that’s casting some gorgeous reflections. Explain this upfront so that your couple can make sure it’s possible with the venue.
Limited light sources can be super magical, so use them to their fullest potential for amazing results.
Who needs the golden hour, after all?!
Rule #5 Be Wary of Colorful Reflections
When the sun is in full force, it can be very tempting to find a shaded area. While itisa good idea to try and limit your light source, just be wary of any unintended colors.
For example, you might be tempted to find a shaded area under a tree. Be warned that this will cast some bright green shadows on your couple, which are impossible to fix in post-production.
Remember, green trees equal green skin at noon. And crazy lighting indoors can often cast purplish reflections. And ain’t nobody got time for a purple face, let alone on their wedding day!
When looking for shade – neutral (beige)shades are key. Light-colored sandstone is perfect, scout it out where you can.
Rule #6 There’s A Right, And Not-So-Right, Way to Use A Flash at Night
If the evening reception is beautifully lit with fairy lights and candles, the last thing you want is to totally bleach out all that gorgeous background detail with a heavy-handed flash.
A diffuser will come in useful again here; pair it up with an off-camera flash and you’ll see a quick difference from the standard pre-set flash built into your DSLR.
But, if you’re shooting inside under twinkly lights, keep that flash off and see what magical shots you can get.
Soft light sources create a very romantic feel in the images. So always try to make the most of candles, fairly lights, and any other soft sources to hand. And – extra important! – talk to your couples beforehand to let them know how to arrange the dinner lighting for best effect.
Using flash is an art from and you can do incredible things with it – but a wedding isn’t the place to try all of that for the first time.
Make sure to have your technique down and know your way around all your lighting equipment before you try and arrange off camera flashes 3 minutes before the couple’s first dance starts.

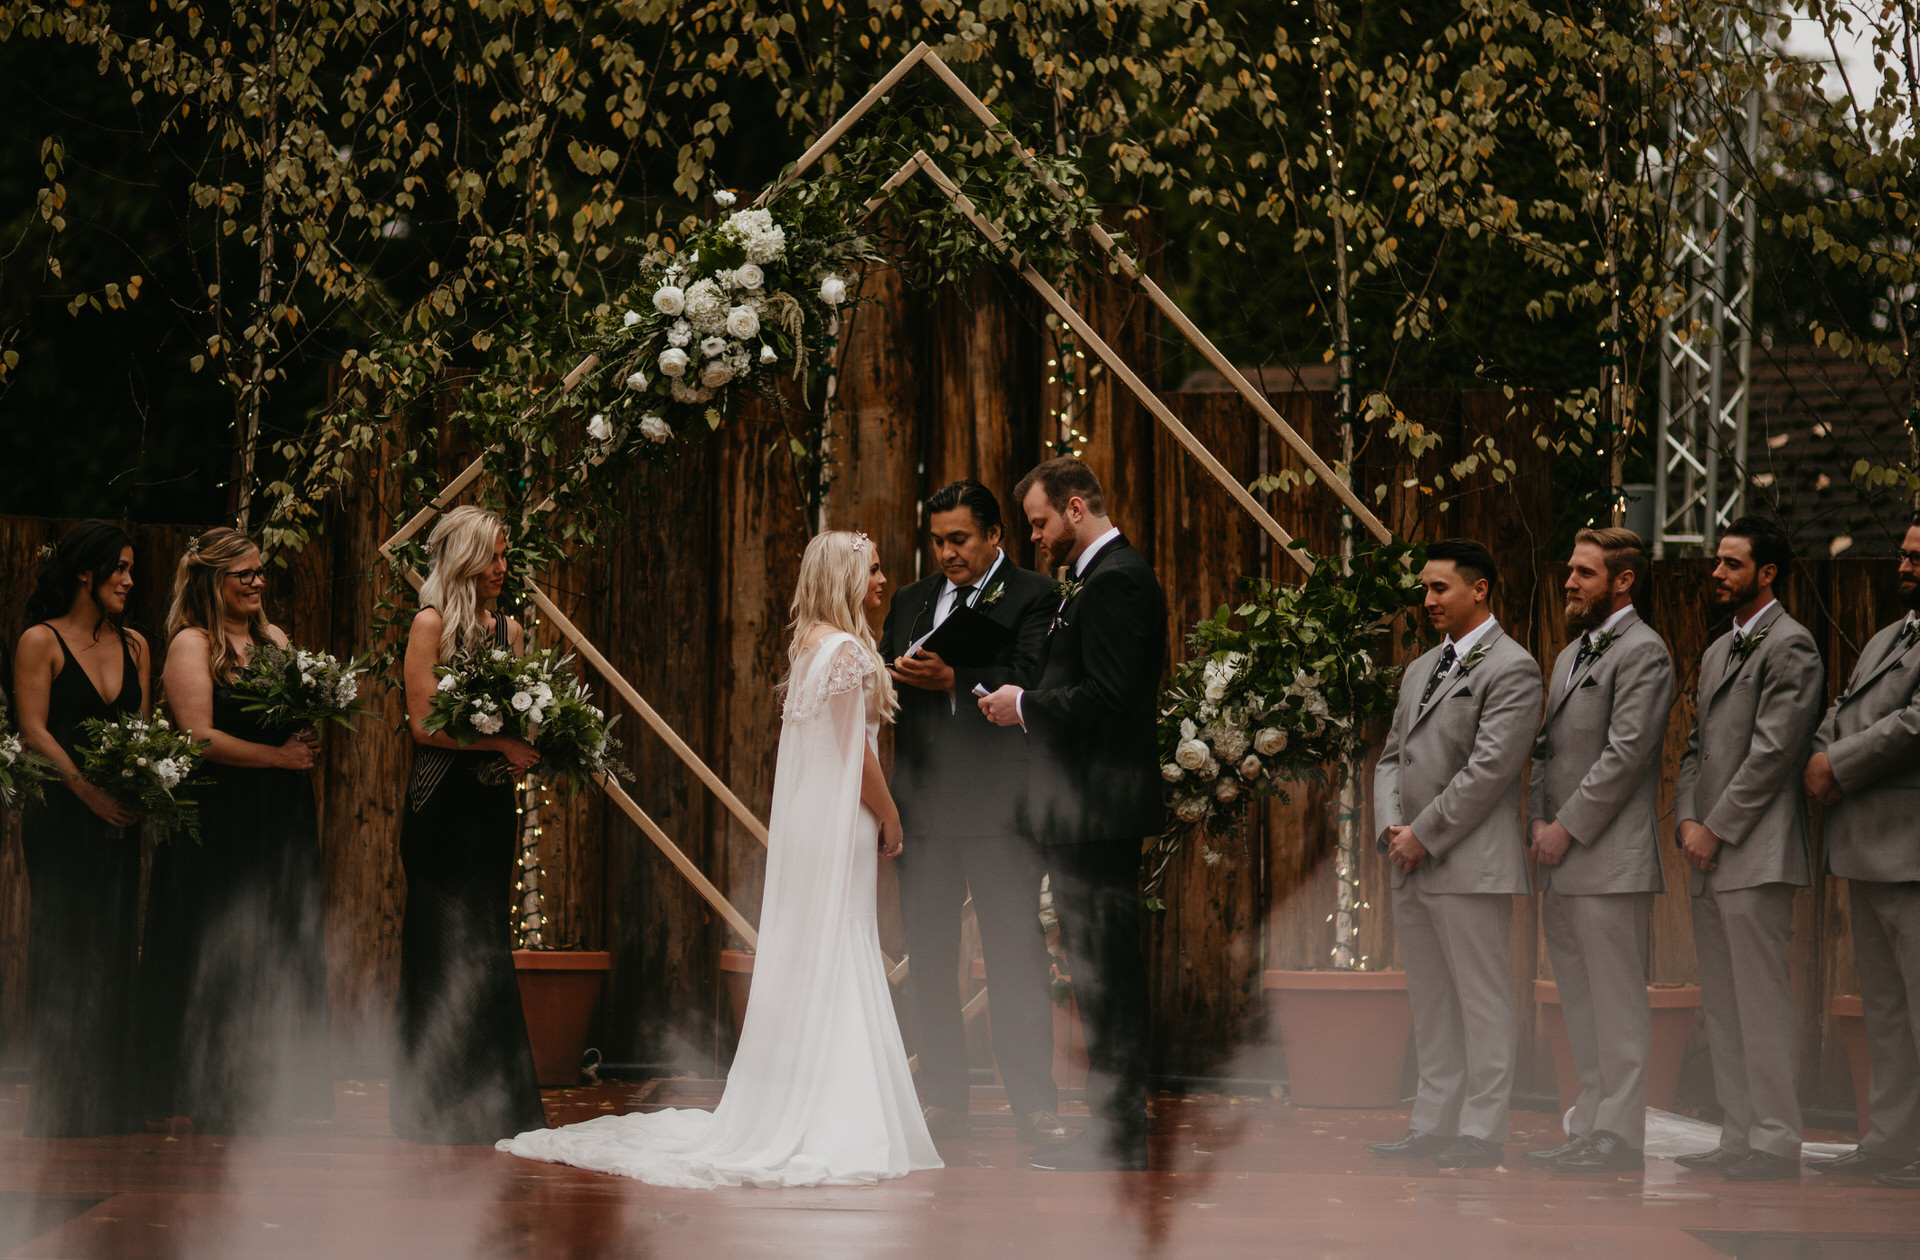
Photographer: Stephenie Masat
Rule #7 Don’t Be Afraid of The Shadows
We’ve talked a lot about light so far, but shade and shadow can be a photographer’s best friend, too.
If you’re shooting outside on a bright and glare-y day, direct the couple to pose underneath the shade of a building that’s casting a shadow. This will help you manage the light balance – and give you a little respite from the beating heat!
Remember what we said about green or yellow sources of shade, though. Rather than heading to the nearest tree, it’s probably more advisable to look for a roof, a wall giving off shade, a canopied terrace etc. When looking for shade – neutral shades are key.
If your surroundings are lacking in natural shade, create your own! A strategically positioned umbrella will do the trick. A big piece of (light-brow or beige) cardboard, or even a beige blanket can also work wonders— but you may need to bring a photography assistantalong to help you hold it!
Similarly, keep your eyes peeled for structures which cast interesting shadows as these will add a certain flair and three-dimensional element to your shots.
In fact, instead of hiding harsh light situations – start playing with contrasts, shadows & silhouettes!
Rule #8 Know Your Surroundings — Scope It Out in Advance, If You Can
Sometimes you only get one chance to get the shot, and this is especially true if you’re capturing a First Lookmoment.
So — honestly — preparation is the best thing you can do to get great results outside of the golden hour.
Know your space and surroundings; head there before the event, if you can, to scope out spots of natural shade and dimly lit corners.
Of course, it makes sense to visit at the same time you’ll be shooting — remember how light changes in color throughout the day — so try to plan this in, especially if it’s your first time at the venue.
If it’s not possible to visit the venue before the event, then you need to download Sun Seeker app – stat! You can use Sun Seeker to track the movement of the sun in any location. This means you can do your homework from afar to plan where your key shots should take place.
But don’t stress too much, light is a tricky subject; you simply never know what the conditions will be like, until the big day itself.
Do what you can to practice and prepare, the leave the rest up to fate!
And if you’re looking for more photography tips, like how to streamline your post processing workflow, then check out the rest of the DB&MH blog.
Connection is what it’s all about. Feel free to reach out to us with any comments or questions you might have, even if it’s only to say hello. If it wasn’t for our beautiful community, this place just wouldn’t feel the same.


0 Comments